From sketch to collectible: a character's journey
We followed one character, a small armoured cat, from a pencil doodle to a finished, rigged collectible. Here is every step, with the decisions that mattered.
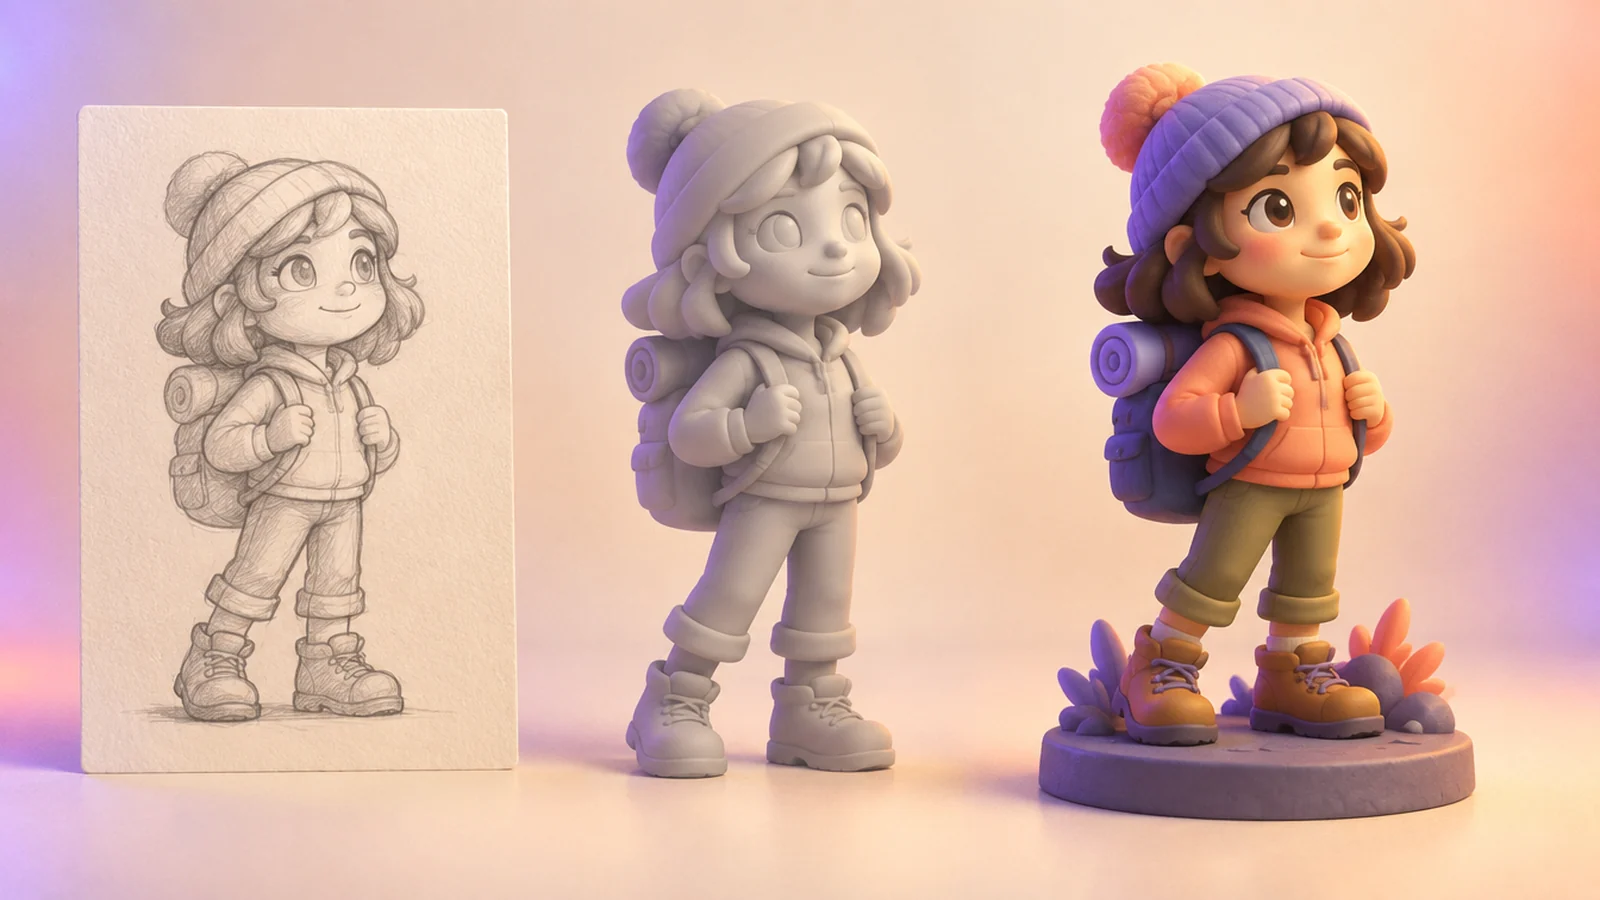
Every character starts as a scribble. Ours was a cat in armour drawn on the back of a notebook: big eyes, a helmet two sizes too large and a sword almost as tall as its owner. This is the story of how that doodle became a finished collectible in Polyvia.
Step 1: Clean up the sketch
Image-to-3D reads shapes, not intentions. Before uploading, we redrew the cat on a plain white background with bold outlines and a clear, front-facing pose. Arms slightly away from the body, legs apart, the sword held to one side. Ten extra minutes here saved several reruns later.
Step 2: Generate the first drafts
We uploaded the sketch in the studio with no texture selected to keep the first passes cheap. Three drafts later we had a shape we liked: the helmet read well, the tail curled nicely and the sword did not merge into the leg.
A few lessons from this stage:
- Simple sketches beat detailed ones. Cross-hatching can turn into bumpy geometry.
- The back is a guess. Our sketch showed only the front, so we added a short text note describing a cape to steer the unseen side.
- Fix the seed once you like the overall shape, and change one thing at a time.
Step 3: Add colour and materials
With the shape locked, we added a PBR texture: dented steel for the armour, a warm red tabard and soft grey fur. PBR gave the metal real shine under lights, which matters a lot for a collectible that will be shown off in renders.
Step 4: Rig and pose
A collectible can still move. We ran the free rig check, which confirmed the model could be rigged, and then added a skeleton. From the animation presets we picked an idle and a walk, perfect for a turntable video and a short clip for social media.
Step 5: Export for every use
One character, many destinations:
| Use | Format |
|---|---|
| Turntable render in Blender | FBX with the rig and clips |
| Web viewer and sharing | GLB |
| Showing it off in AR on a phone | USDZ |
| A physical figure on the shelf | STL |
Step 6: Print the collectible
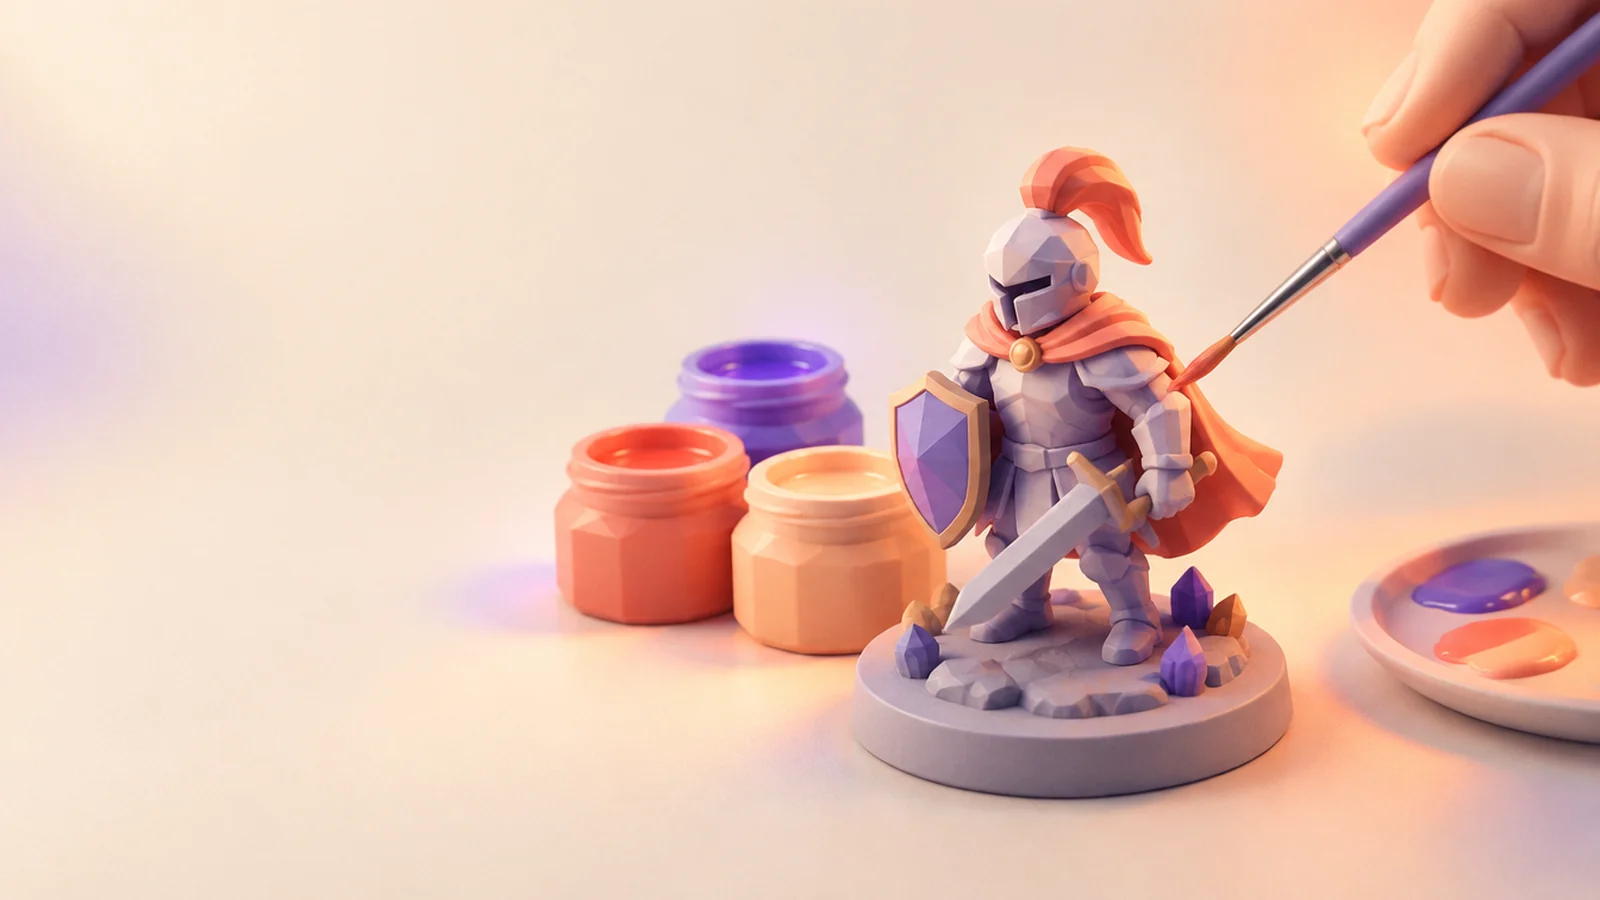
For the shelf version we exported the unposed mesh as STL, scaled it to 12 cm, thickened the sword blade a touch and printed it in resin. A coat of primer and an evening of painting later, the doodle was standing on the desk.
What we learned
The biggest wins came from the cheapest steps: a clean sketch, untextured drafts and changing one variable at a time. Spend credits on textures and rigs only once the shape earns them.
Your notebook is probably full of characters waiting for their turn. Pick one and start the journey.