Building a cosy diorama scene
A diorama is a tiny world with a story. Here is how to plan one, generate its pieces separately and assemble them into a warm, lived-in scene.
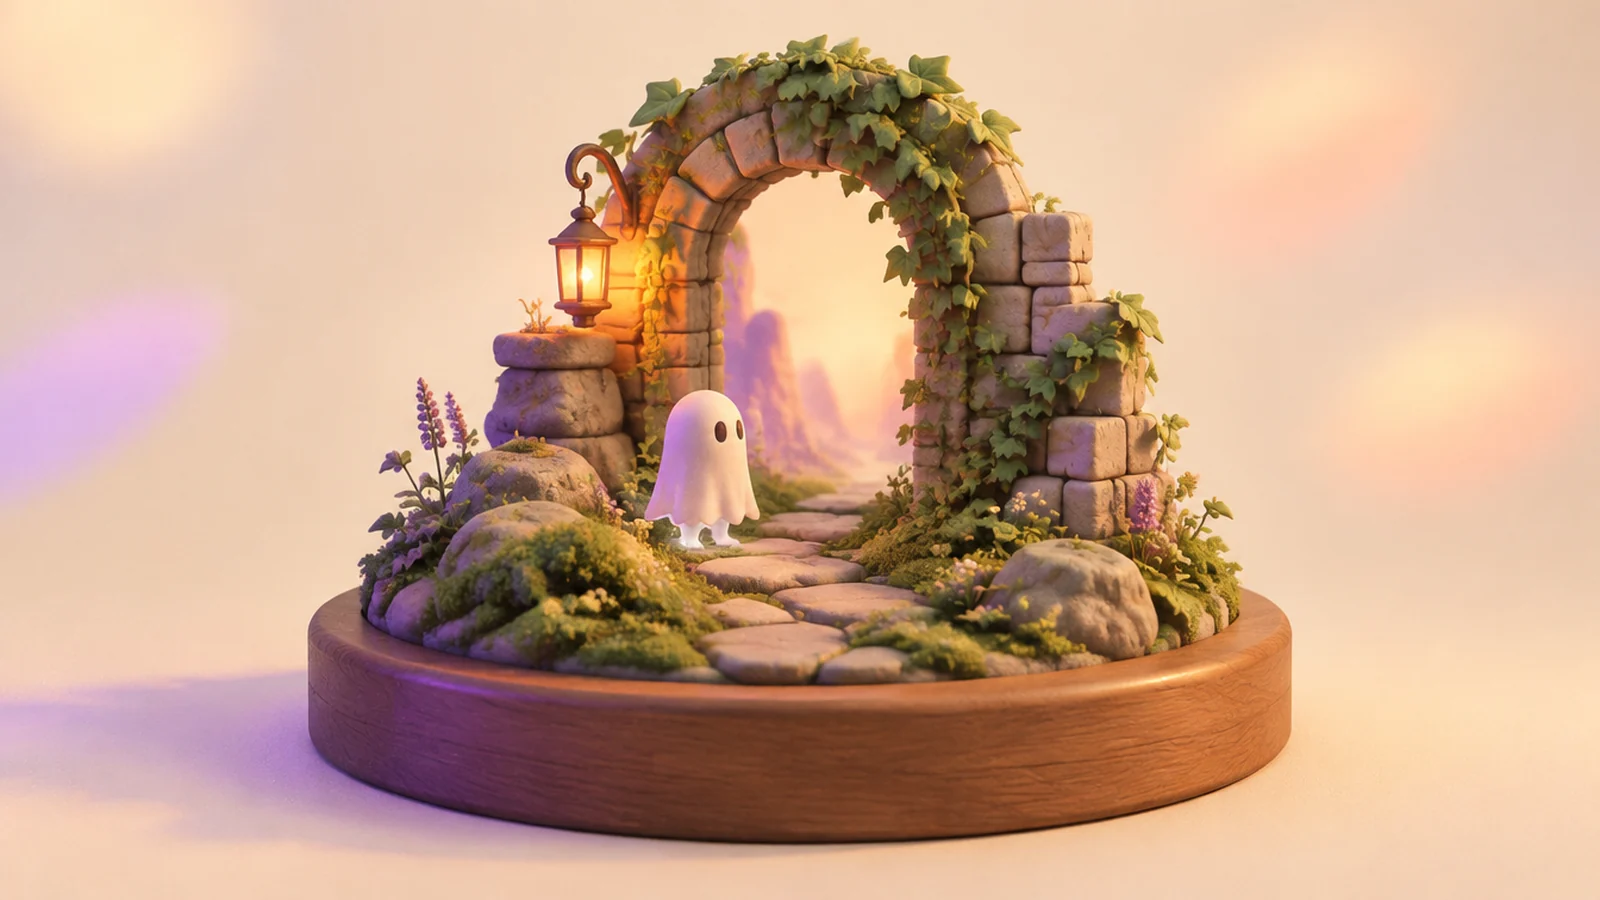
There is something irresistible about a small, self-contained world: a lamp-lit corner, a stone archway covered in moss, a creature curled up by the fire. Dioramas are one of the most rewarding things to build with generated models, because every piece gets to be exactly what the scene needs.
Plan the story first
Before touching the studio, write one sentence that sums up the scene. Ours was: "A ghostly chef cooks a late-night stew in the ruins of an old castle kitchen." That sentence tells you the mood (warm but eerie), the hero (the chef) and the setting (ruined stone).
From it, list the pieces:
- The hero: a ghostly chef.
- The frame: a stone archway to give the scene depth.
- Props: a cauldron, a stool, a shelf of jars, maybe a curious animal watching.
- The ground: a simple platform you can build in your 3D tool.
Generate each piece on its own
This is the golden rule. A prompt describing the whole scene gives you one tangled mesh. Instead, generate each object separately with its own focused prompt:
- "A crumbling stone archway with moss and ivy, stylised."
- "A translucent ghost chef in a tall hat stirring a ladle, stylised, soft glow."
- "A small iron cauldron on three legs, hand-painted style."
Keep one or two style words the same across every prompt so the pieces feel like a set.
Keep the scale honest
Generated models arrive at different sizes. Pick one reference object, usually the hero, and scale everything else to it when you assemble the scene. A stool should reach the chef's knee; the archway should tower over both.
Assemble and light
Export each piece as GLB or FBX and bring them into Blender or your engine. Then:
- Group objects in threes. Clusters feel more natural than even rows.
- Leave breathing room around the hero so the eye knows where to land.
- Use one warm key light near the cauldron and a cool fill from outside the arch. Warm against cool is the fastest route to "cosy".
Add life with small details
The difference between a set and a scene is evidence of life. A spoon left on the floor, a jar slightly tipped, a candle burnt halfway down. Generate a few tiny props; they are cheap and do a lot of storytelling.
Share the finished world
Render a slow camera move through the archway and you have a lovely piece for your portfolio. You can also publish individual props to the public gallery so others can build their own tiny worlds with them.
Start small: one hero, one frame, three props. You will be surprised how much story fits on a single platform.