Lighting your models for great renders
A good model can look flat under bad light. These simple lighting setups, from three-point to rim light, make your Polyvia creations look their best in any renderer.
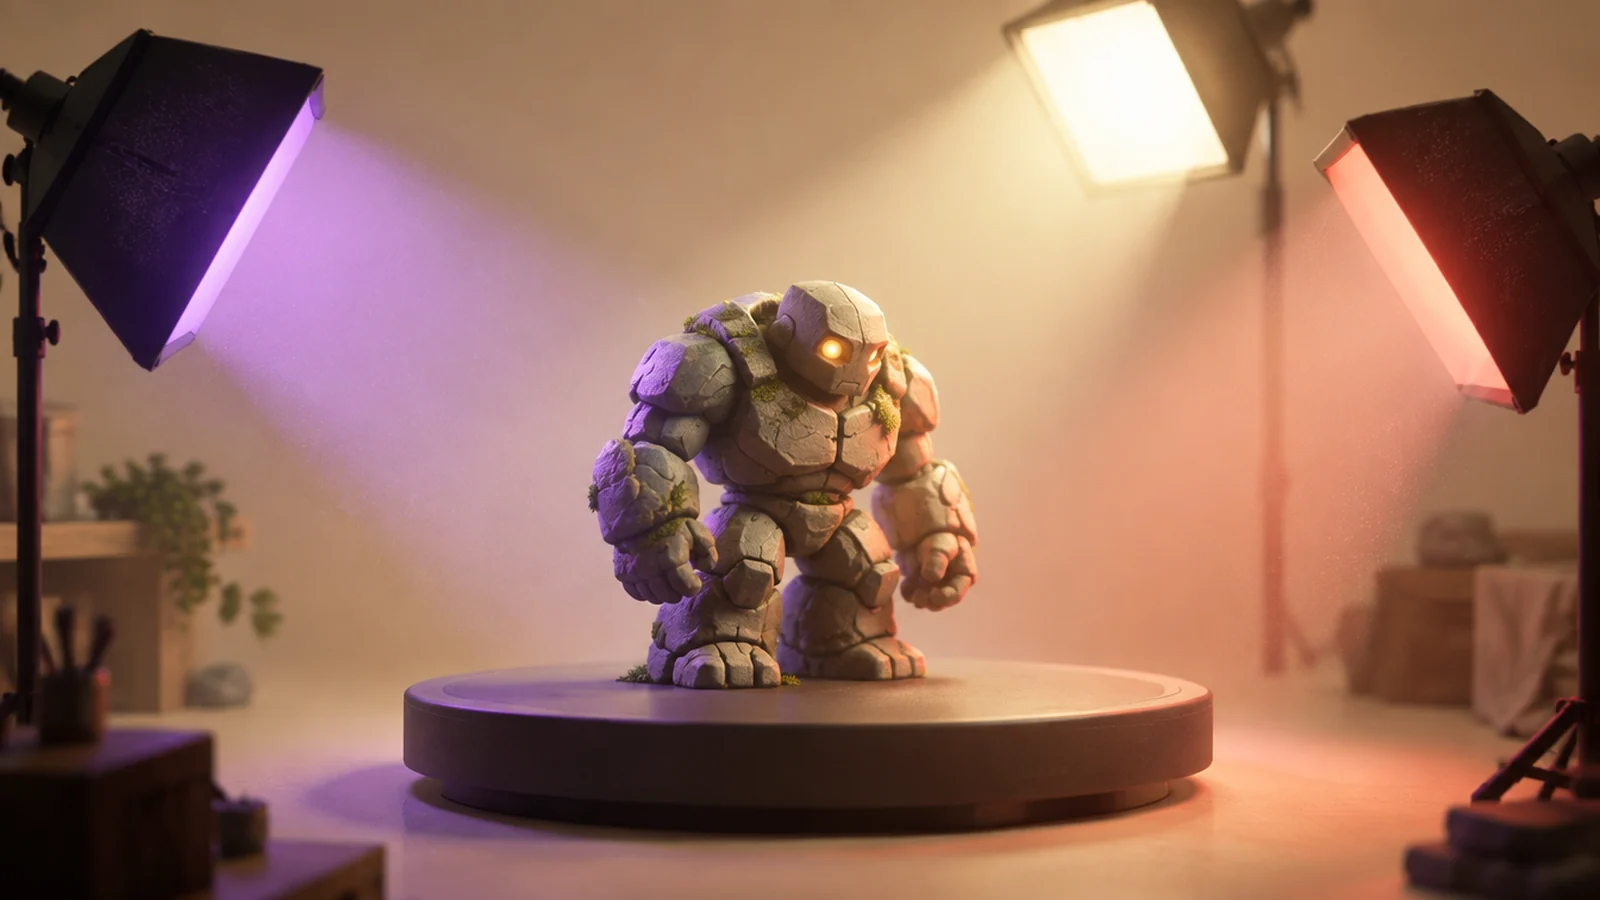
You have generated a model you love. Now it is time to show it off, and nothing changes how a model looks as much as the light. The same golem can look like a cheap toy or an ancient guardian depending on where you put three lamps.
Polyvia models arrive as clean, standalone objects, so you are free to light them however you like in Blender, your engine or any renderer. Here are the setups we use most.
The classic three-point setup
The starting point for almost every portrait and product shot:
- Key light: the main, brightest light, placed about 45 degrees to the side and slightly above the model. It defines the form.
- Fill light: a softer light on the opposite side that lifts the shadows without erasing them. Around a third of the key's strength is a good start.
- Rim light: a light behind the model, pointing towards the camera, that draws a bright outline and separates it from the background.
This setup flatters busts, characters and props alike.
Rim-heavy for drama
Turn the key down, push the rim up and use a dark background. The model becomes a glowing silhouette with just a hint of detail. This works wonders for creatures, armour and anything with an interesting outline, like a griffin's wings or a mech's antennae.
Soft studio light for products
For collectibles and clean presentation shots, use one or two large, soft area lights and a plain, light-grey background that curves up behind the model. Shadows stay gentle and every surface is readable. It is the look of a toy catalogue, ideal for showcasing stylised work.
Warm and cool for mood
Put a warm orange light on one side and a cool blue light on the other. The contrast instantly adds atmosphere and makes forms pop. Warm key with cool fill feels cosy; cool key with warm rim feels mysterious.
Let PBR textures shine
Models with PBR textures respond to light physically: metal glints, cloth stays matte and skin has a soft sheen. To see that at its best:
- Use an HDRI environment for realistic reflections on metal.
- Avoid pure-white lighting; a slight colour tint looks more natural.
- Check roughness in motion. A slow turntable reveals how surfaces catch the light.
Camera and composition quick tips
- Use a longer lens (around 85 mm) for portraits to avoid distortion.
- Place the camera slightly below eye level for heroic characters.
- Leave space in the direction the model is looking or moving.
Turntables and clips
A slow 360-degree turntable is the best way to present a 3D model. If your model is rigged, play an idle animation during the spin for extra life. Export as GLB or FBX to bring rig and clips along.
Try all five setups on the same model and compare side by side. You will quickly find the look that suits your style.